The Age-old Conundrum - Road or Ferry? Europe’s shores are calling; adventure, culture and a rich tapestry of beautiful scenery awaits....


The Age-old Conundrum - Road or Ferry? Europe’s shores are calling; adventure, culture and a rich tapestry of beautiful scenery awaits....
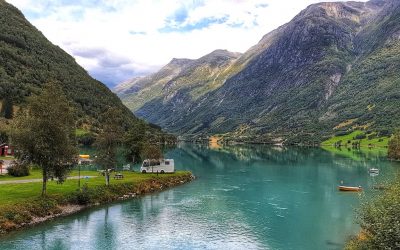
Norway - a land of dreams After an epic seven weeks in Norway and a total of five months in Scandinavia during the summer of 2019,...
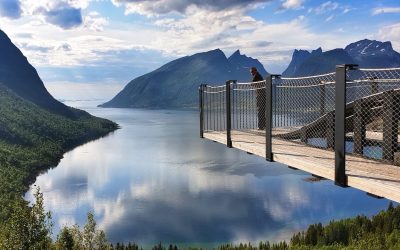
Norway - the geological genius that mesmerises you around every corner Visiting Norway in a motorhome is a dream come true for so many. I...
You can find us on social media,
different channels for different content.